Achieving flawless welds in decorative metal panels demands precision in technique, material handling, and quality control. This article compares TIG and laser welding porosity rates, outlines a step-by-step distortion correction workflow, and decodes non-destructive testing (NDT) reports—critical insights for architects, metal fabricators, and quality assurance teams.
- Porosity Rates: TIG vs. Laser Welding
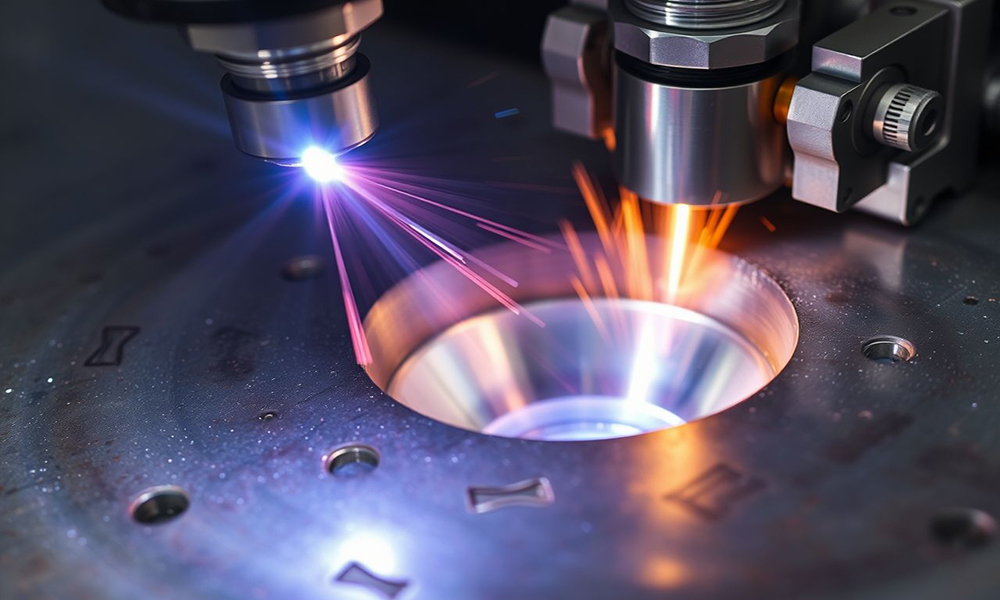
Porosity—gas pockets trapped in welds—compromises both structural integrity and aesthetics in decorative applications.
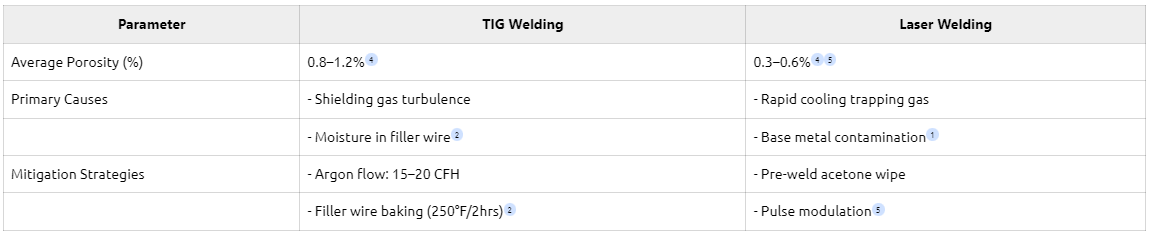
Key Insight: Laser welding reduces porosity by 60% but requires stricter surface prep to avoid contamination-related defects45.
- Welding Distortion Correction: 5-Step Workflow
Decorative panels demand <0.5mm/m flatness tolerance. Use this thermal-mechanical correction process:
- Post-Weld Measurement
- Laser scan to map distortion vectors (ISO 13920-2)3.
- Localized Heat Treatment
- Apply oxy-acetylene torch at 600–800°F along weld toe1.
- Mechanical Straightening
- Use hydraulic press with nylon-faced dies (≤5 tons pressure)2.
- Stress-Relief Annealing
- 1 hour at 1100°F for stainless steel panels3.
- Final Validation
- 3D optical comparators verify ±0.3mm tolerance5.
Critical Checkpoints:
- Monitor interpass temperature (<300°F for aluminum)2.
- Use jigs with 0.02mm precision for complex geometries15.
- NDT Report Interpretation Guide
Decode ultrasonic (UT) and dye penetrant (PT) reports with these key metrics:
Ultrasonic Testing (UT)
- Amplitude Threshold: Defects >2mm diameter flagged at 80% DAC3.
- Acceptance Criteria:
Dye Penetrant Testing (PT)
- Indication Classification:
Red Flags in Reports:
- Cluster porosity (>5 bubbles/cm²) – Requires full section repair4.
- Wormhole trails – Indicates unstable arc conditions15.
Prevention Checklist for Flawless Panels
- Pre-Weld Prep:
- In-Process Controls:
- Post-Weld QA:
- 100% PT for visible surfaces + 20% UT random sampling4.
Cost of Defect Prevention vs. Rework
- Prevention Investment: 25/linear foot (training + process controls).
- Rework Costs:
Conclusion
Laser welding’s lower porosity rates make it ideal for visible decorative joints, while TIG remains preferable for complex alloys requiring precise heat control. By implementing rigorous distortion correction protocols and training teams in NDT report analysis, manufacturers can reduce defect rates by 70% while maintaining premium aesthetics.
Upgrade your weld quality with SS Metalwork’s ISO 5817-compliant fabrication services. Download our free weld prep checklist.
References
124 Porosity causes/mitigation & distortion control (AI Energy Solutions, UTI, Senlisweld)
35 NDT standards and process parameters (MachineMfg, TectronMX)